Set up the Kotzilla SDK
You can configure the Kotzilla SDK from the Kotzilla MCP Server, the Koin IDE Plugin, or the Kotzilla Console. All the details are available here.
Quick start with the MCP Server
If you have the Kotzilla MCP Server installed in your AI coding assistant, you can set up the Kotzilla SDK for NowInAndroid with a single prompt:
Register this NowInAndroid project on Kotzilla and set up the SDK
The assistant reads the project, registers the app on the platform, generates kotzilla.json, applies the Gradle changes, and adds monitoring() to the Koin setup. Once the build succeeds, skip to First issues in NowInAndroid.
Suggested values when the assistant prompts for them:
- Application Name:
NowInAndroid-gettingStarted - Android Package Name:
com.google.samples.apps.nowinandroid.demo.debug
Plugin-based setup
If you prefer the guided setup from the IDE, we'll use the Koin IDE Plugin to set up the Kotzilla SDK in the NowInAndroid sample app:
1.- Open the NowInAndroid project in Android Studio.
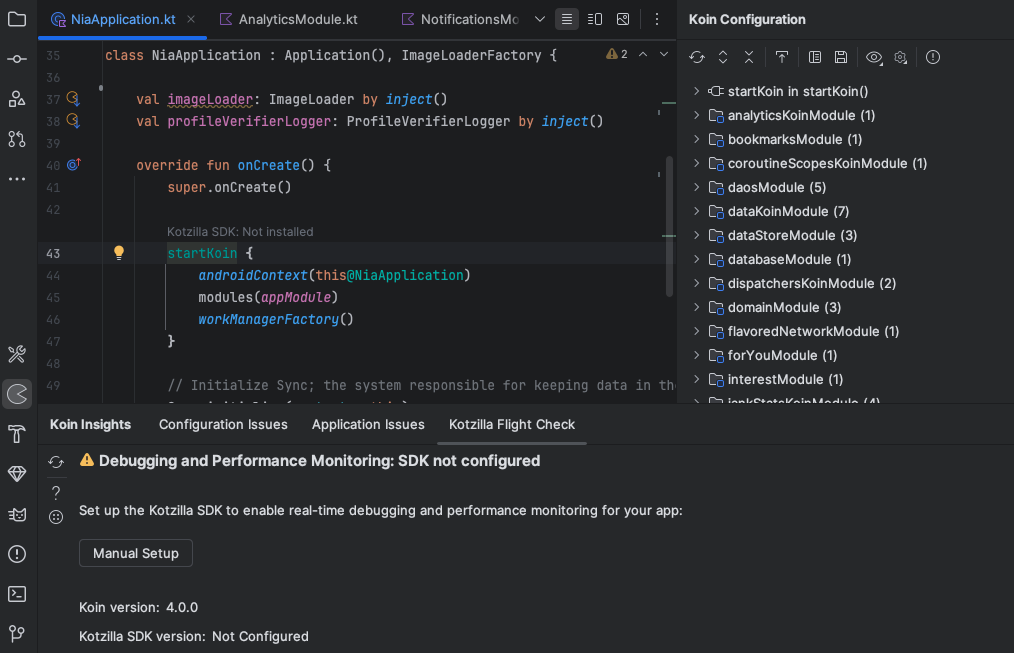
2.- In the Koin IDE Plugin, open the Koin Insights view, go to the Kotzilla Flight Check tab, and click on the Manual Setup button. This will redirect you to the Kotzilla Console onboarding page.
3.- In the Kotzilla Console, register your application with the following values:
- Application Name:
NowInAndroid-gettingStarted - Android Package Name:
com.google.samples.apps.nowinandroid.demo.debug
4.- Follow the onboarding steps in the Console to:
- Generate the
kotzilla.jsonconfiguration file - Update your Gradle build files with the correct SDK setup
5.- Once the setup completes, sync the app and verify the setup:
- In the Koin Configuration view, the Debugging and performance monitoring flag should now show SDK active.
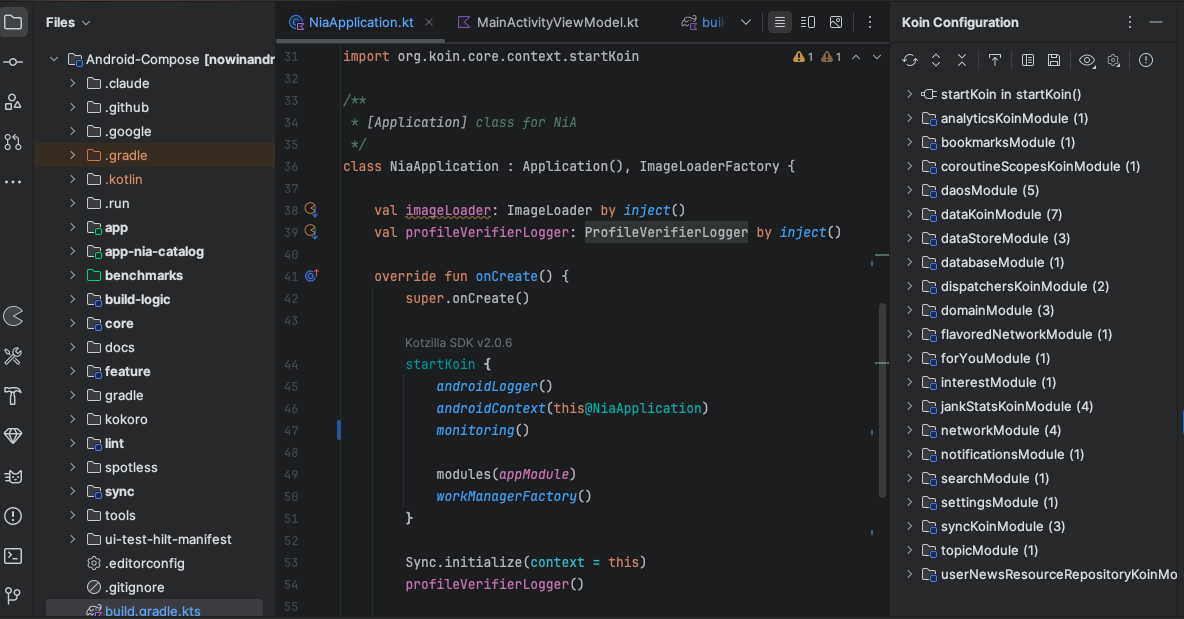
- Click on the
startKoin in onCreate()entry to see that the SDK initialization has been added to yourNiaApplication.ktclass.